Steps to Clean the Violin
Regularly cleaning the violin is very important in terms of maintenance and ensuring the instrument stays clean and sounds the best possible. Violins are often exposed to agents such as turpentine, natural oils from fingerprints, and other grease and dirt stains on the surface. So how do you prevent the buildup of sticky rosin and protect the glossy finish?
This article will show you how to keep your violin clean after each daily use. However, when a comprehensive cleaning or restoration is needed, you should leave your violin in the hands of a professional luthier. These violin makers are experts in their field and they know the delicate processes required to provide your instrument with a comprehensive service, ensuring it always looks new and sounds clear As clear as the first day.
Before start
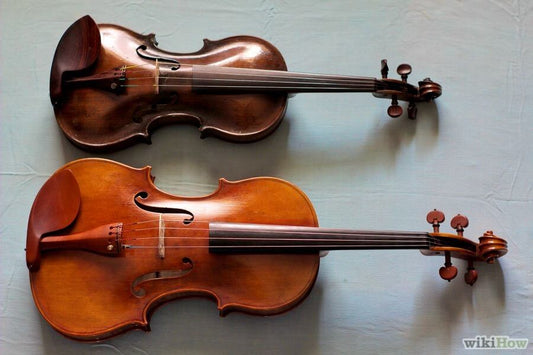
Important Note: If your violin is an antique or older, be very careful and do not attempt to clean or polish it with any products, as this can severely corrode the varnish. its special.
Antique violins are often coated with a delicate varnish made of spirit, which means they cannot withstand the cleaning or polishing products we recommend here.
If you are unsure about the correct way to do this for your violin, contact the store where you purchased the violin for advice. They will inspect your instrument and give you the most appropriate instructions to best protect and preserve it.
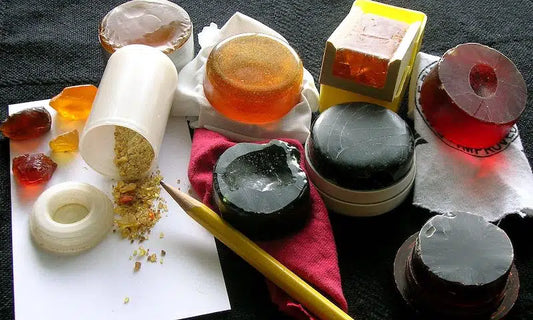
Materials need to be prepared
To clean the violin, you don't need too many complicated items. Below are some specialist cleaning products we recommend, especially for removing resin dust and polishing wood.
- A few microfiber cloths
- Remove resin
- Polishing the violin
- A box of tissues
- A few cotton swabs (Q-tips)
You can buy these items separately or you can buy a violin cleaning kit like the one below that includes a bunch of items.
Steps to clean the violin
Step 1: Prepare
Before you begin the cleaning process, start by washing your hands with soap and drying them with a towel.
Don't skip this step because our hands and fingers naturally contain body oils, and these oils can cause small grease stains and reduce the shine of the violin's finish.
Once you have cleaned your violin, be careful when holding it and avoid direct contact with your body skin, especially if you have oily or wet hands. This helps maintain the cleanliness and shine of the violin for a long time.
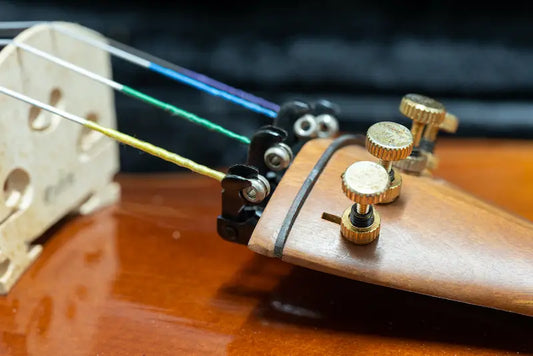
Step 2: Clean the guitar body
After washing your hands, you can use a clean cloth to wipe the body of the violin and remove excess rosin. A microfiber cloth is best, but any clean cloth will work. If the amount of rosin is large, check and use a cleaner part of the cloth to avoid spreading more rosin to the surface of the violin.
This process needs to be gentle and should not use too much force, because the violin is a fragile item. The bridges and F-holes can be cleaned with a cotton swab (Q-tip), which helps you reach smaller corners with ease.
If the peg tip becomes discolored after cleaning, switch to the other side of the peg tip to avoid staining and spreading to other areas of the violin. Being careful and meticulous in the cleaning process will keep your violin in top condition and prolong its life.
Step 3: Clean the strings
After cleaning the front and back of the body, the next step is to clean the strings. You can do this by sliding a clean section of cloth underneath the wire and slowly pulling it up to clean off excess dust and rosin from the wire.
Alternatively, you can use a cloth to gently pinch each string and slowly slide it up and down to shake off the rosin. This helps ensure the strings of the instrument are always clean and ensure the best sound when played.
When cleaning the strings, also take care not to damage the strings, do it gently and carefully to maintain their durability and longevity.
Step 4: Remove the resin
Once you have cleaned off the rosin dust from the violin's body, you can use a rosin remover to ensure that no rosin remains.
Here are some notes when using rosin remover:
Use new clean paper towels or tissues for this to ensure cleanliness and avoid contamination.
Use the turpentine remover sparingly, just a few drops onto the fabric and gently swipe over the areas that need cleaning.
Avoid using rosin remover on strings, as wiping them regularly is enough to remove the rosin.
Check the cloth and paper towel after each wipe to see if you need to use a new clean patch. If you see a brown color on fabric or tissue, this may indicate you are removing the polish.
If you spot gray, sugary residue on cloth or tissue, this is a sign that your violin needs to be taken to a professional luthier for cleaning.
While taking your instrument to a luthier may be more expensive than cleaning it yourself, this will ensure your instrument is kept in top condition and prevent further damage from accumulating during use.
Step 5: Polish the Violin
If you have cleaned the surface of the violin without any problems, you can now proceed to polish it.
However, it should be noted that polishing on a dirty, sticky surface risks staining deeper into the fabric of the violin, so a thorough cleaning beforehand is important.
Use a violin-specific polish, and never use other furniture or woodwork polishes for this process.
Take a new cloth or tissue and add a few drops of polish. Then, gently rub the front and back of the violin to restore shine.
Be careful to avoid getting polish on the bridge or strings, as this can cause damage and affect the sound of the instrument.
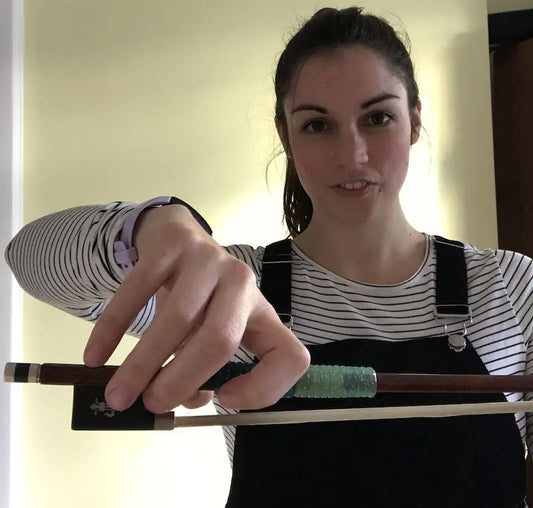
You can also polish your guitar's bow bar, but make sure you don't get any polish on the bow hairs!
After the cleaning and polishing process, your violin will look shiny, clean, and ready for you to pick up and play.
Such regular maintenance and care will keep the violin in top condition and allow it to reach its full musical potential.
How often does a violin need to be cleaned?
Cleaning your violin after each use is an important part of maintaining it and keeping it in top condition.
Using a non-abrasive cleaning cloth such as microfiber, cotton, or flannel will help protect the surface of the tree and avoid damaging the finish.
Additionally, you can purchase a violin cleaning cloth from a violin store to use for cleaning. Keeping a cleaning cloth or two in your violin case will help you easily access them and use them when needed.
Even if you clean your guitar every day, it will still accumulate excess rosin, grease, and dirt over time. Therefore, it is best to clean your guitar every few months or so, depending on how often you play. If you play less often, you may not need to do this so often.
When you look at the exterior of your violin and see layers of sticky rosin, fingerprints, or dull varnish, it's a sign that it's time for cleaning and maintenance.
Providing a little love and care for your violin will help keep it in top condition so you can continue to enjoy playing music at its best.
Summary of Violin Cleaning Process
This guide has helped to better understand violin cleaning and what you can do yourself to keep it in top shape. Using appropriate and quality products is very important during the cleaning and maintenance process.
Make sure you choose the right cleaning products, polishes and cleaning cloths for your violin. Use these products regularly to keep your instrument clean and minimize accumulated damage from dirt.
In addition to cleaning yourself, if you feel you need expert assistance to maintain your violin, take it to a professional luthier. They will know how to delicately handle and clean the violin, helping it become new and sound as good as when it was first purchased.
See more:
Top 5 Best Violins for Beginners
Tags: